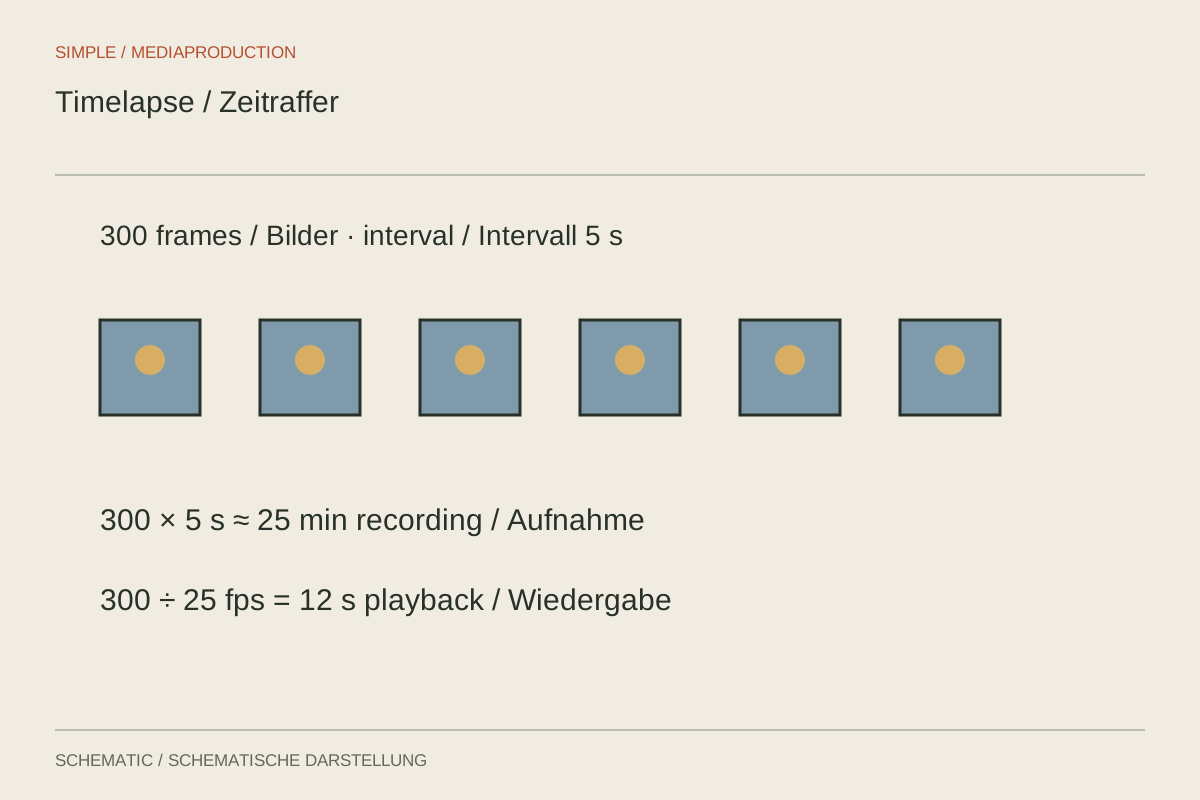
A timelapse compresses a long event into a short sequence. To produce more than a fleeting moment, plan the capture interval together with the desired running time. The setup also needs stable framing, sufficient power and a suitable exposure strategy throughout the session. The camera is not simply waiting; it must collect many frames under conditions that remain understandable and consistent.
Work backwards from the finished duration
Ten seconds at 25 frames per second requires 250 images. With four seconds between capture starts, the first and last images are separated by 249 intervals, or 996 seconds. For rough planning that is just under seventeen minutes, plus preparation and the final exposure. The distinction is small, but clarifies exactly what the calculation describes.
If only ten real minutes are available, shorten either the interval or the finished clip. Producing more playback frames from the same small image set does not create additional observed states. First identify the change you want to show, then calculate a suitable duration. A slowly moving shadow needs a different observation period from a quick tabletop assembly.
Check what the interval means
Cameras and interval controllers can use terminology differently. Often the interval means the time from one capture start to the next; other workflows account for a pause after exposure. Read the device description. Exposure, processing and writing must fit the available cycle, or frames may be skipped and spacing may change without matching the original calculation.
Run a few minutes with the intended settings and inspect the image count and timestamps. This reveals whether the actual sequence agrees with the estimate. Long exposures and additional in-camera processing may affect timing. Short exposures show more distinct individual states; longer exposures can connect movement through blur. Both are creative choices that should suit the subject rather than follow one universal interval recipe.
Distinguish constant from changing light
For a consistently lit tabletop scene, fixed exposure, fixed white balance and manual focus help avoid unintended fluctuations. A passing hand should not redefine brightness in every frame. Still check that the important phases of the action remain within the focus range. A stable setting is useful only when it covers what will actually happen.
At sunset, real illumination changes substantially. Completely fixed exposure may leave the ending too dark. Automatic or deliberately adjusted exposure may be needed, but requires checking for visible jumps. Smoothing functions are model-specific and cannot guarantee a seamless result. For an initial attempt, choose a manageable brightness range instead of immediately tackling a difficult day-to-night transition.
Keep the setup dependable throughout
Use a stable position that cannot easily be touched or obstructed by the activity. Check battery, storage and any suitable external power arrangement. Provide capacity for the expected duration with a sensible margin. A tripod in a busy passage remains unsuitable even if it appears stable during the first test photograph.
Decide whether the camera should save a completed movie or individual photographs. Separate images provide more editing options but need assembly afterwards. An in-camera movie is available sooner, yet may offer less correction flexibility or no separate source frames. Check the exact function instead of inferring the resulting files from the word timelapse alone.
Review the sequence as movement
Do not inspect only the beginning and ending. Play a preview of the whole sequence and look for brightness jumps, shifted framing and missing stages. If an object suddenly disappears between widely spaced images, the interval may have been too long for that action. That observation teaches more for the next attempt than a generic recommendation to use a particular number of seconds.