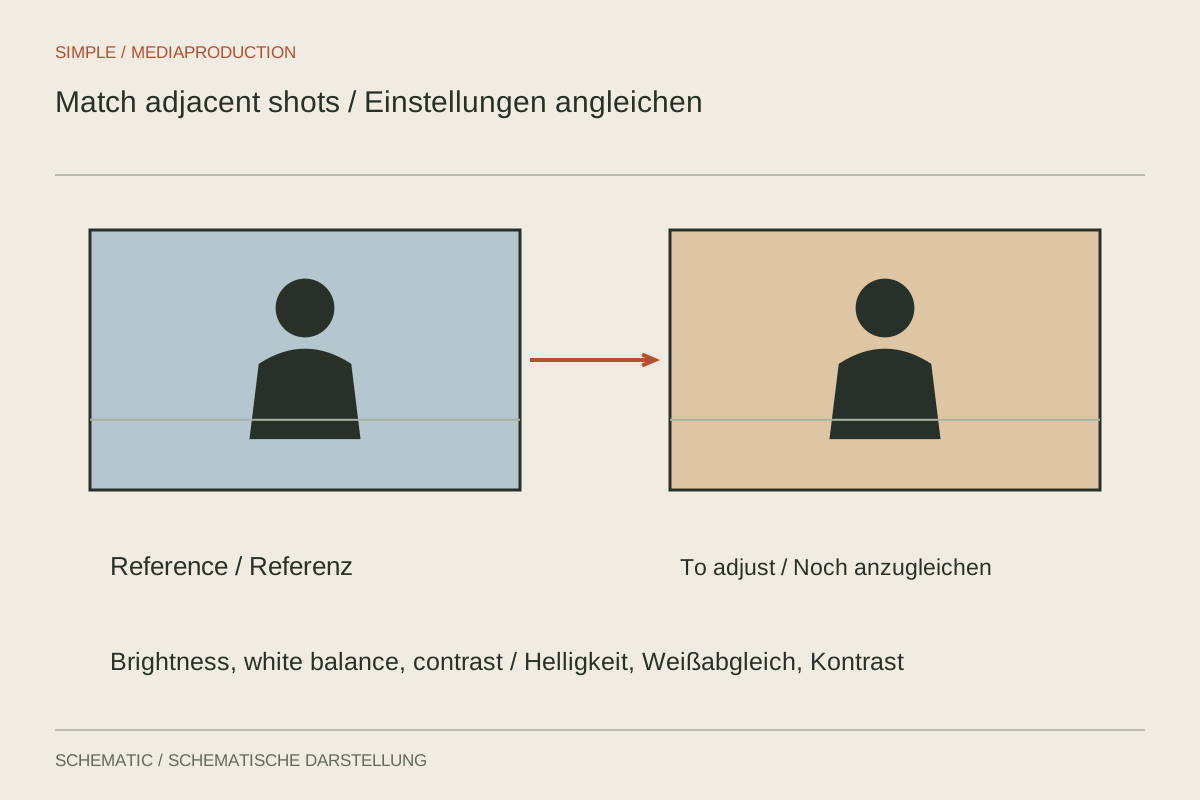
Switching interview cameras suddenly makes the face warmer and the background brighter. Both shots may look pleasant individually while failing to match. Shot matching reduces these unintended jumps. A shared reference is more useful than copying identical correction values onto material recorded differently.
Choose a dependable reference
Select a clip whose exposure and colour suit the intended appearance and contain no obvious faults. It need not be the timeline's first shot. Correct it initially and choose a representative moment without passing shadows or extreme movement.
Compare the second view beside it or through a split display. Look at shared subjects where available: skin, clothing, table or a neutral surface. Different framing may include much more dark background. Do not blindly equalise overall image brightness when the contents differ.
Establish brightness before fine colour
First check whether the face and important highlights have similar emphasis. Brightening a darker face alone can change perceived colour. Use waveform or other appropriate scopes for additional guidance. Matching measurements at arbitrary image locations does not prove a convincing transition, however.
Then adjust temperature and tint. Watch several surfaces together. If skin improves but a previously neutral wall becomes strongly coloured, global correction may be reaching its limits. Different sources or camera profiles may require more selective treatment.
Assess automatic matching as a starting point
An automatic match tool may provide a useful suggestion. It cannot reliably know which area matters to the content. A large coloured object present in only one view can influence the result. Compare the suggestion with the untreated version and reduce or revise it as necessary.
Inspect several moments within the clip. A correction based on one still may fail when the head turns or daylight changes. If lighting jumps during recording, a time-varying adjustment or another edit point may be necessary. Do not force identical colour onto genuinely different lighting situations.
Watch the whole transition
Play the join repeatedly with several seconds before and after it. The change should make sense even though perspective remains different. After prolonged work on one clip, a brief break helps before assessing the scene again.
Retain the reference and note special differences, such as another camera profile. Export a short switching test and inspect it in the intended delivery format. Successful matching is demonstrated by the sequence, not identical slider positions or perfectly matching still-image histograms.
Two cameras with different background proportions
Camera A shows the speaker against a large dark bookcase; camera B frames the face closely with little background. Their histograms will differ even when facial rendering matches. Making the diagrams globally identical may unnecessarily darken the closer view. Compare the same illuminated cheek or clothing detail instead, while recognising that another angle can create genuine reflection differences.
A reference card from both cameras may help if recorded under the same light and similarly oriented. It remains only a starting point. Skin, saturated objects and highlights can still respond differently. Check the actual interview scene after card-based correction. If one camera has already lost important highlight detail, merely darkening the other is not a meaningful match. Choose a common rendering that preserves available information rather than making the worse fault the visual standard.