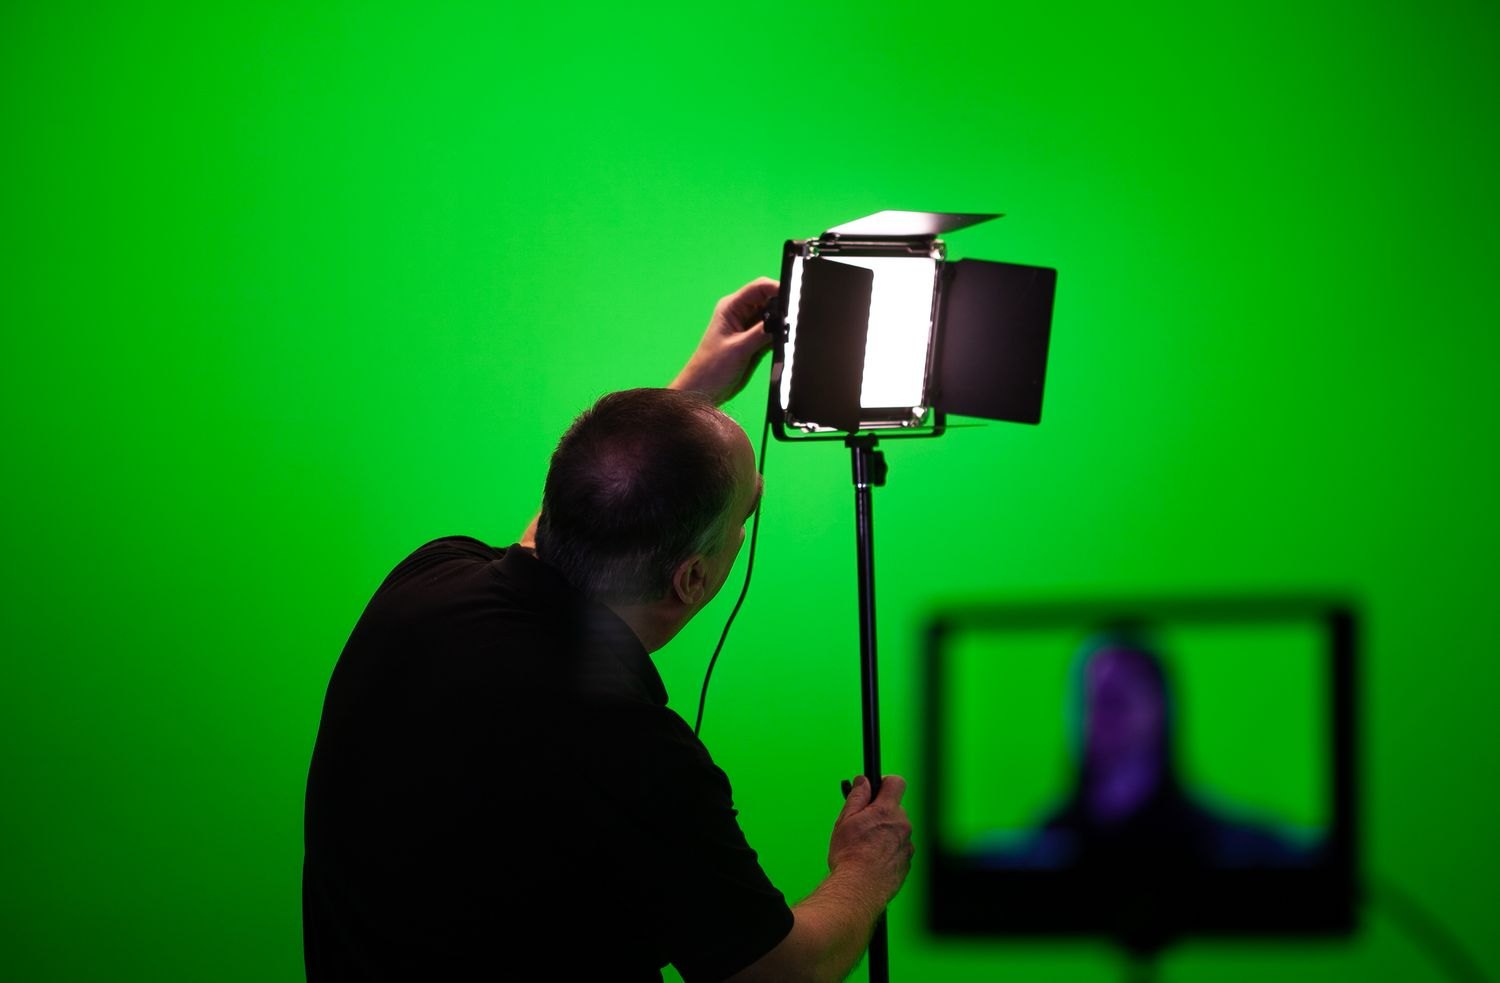
A green screen does not guarantee clean edges. Creases, shadows and green reflections on clothing can make the later key difficult. Begin with the framing actually required. A seated chest-up interview does not need an entirely green room. The visible screen must nevertheless cover every planned movement, including hands and hair.
Build the green surface first
Stretch fabric to remove pronounced creases and prevent movement from draughts. Aim the camera at the planned composition. Light the screen initially without the speaker. Two sources directed from the sides may cover a broad surface more evenly than one bright central patch. Compare the corners and centre in the camera image, rather than relying only on how the room looks.
An exposure display or waveform can reveal differences. There is no universal percentage that works for every camera and green material, however. Aim for adequate saturation and retained detail without large brightness changes. More light is not automatically better: a very bright screen can return more green light onto the subject.
Leave distance for shadows and reflections
Move the speaker away from the background as far as the room permits. This reduces the chance of their shadow reaching the visible area and often weakens green spill. Inspect hair, ears and shiny fabrics carefully. A green fringe on reflective glasses cannot always be removed without visible side effects.
Light the face independently afterwards. Its direction should suit the replacement scene. If that scene contains a large window on the left, a hard key from the right may look contradictory. Choose the background before finishing the speaker's recording, rather than afterwards. Camera height and perspective should also agree.
Run a real keying test
Record ten to twenty seconds using the intended gestures. Ask the speaker to move a hand across their torso and turn their head. Import this clip into the editor and try the planned key. Inspect it over both light and dark test backgrounds: holes in clothing and unstable hair edges become apparent in different ways.
If a large green area beside the speaker is difficult to remove, first examine lighting uniformity. If only the edge is troublesome, investigate motion blur, reflections and recording quality. An aggressive key setting may remove green while also destroying fine hair and transparent details. Wherever possible, correct the recording cause instead of pushing every control harder.
Check clothing and frame edges before speaking
Avoid garments and objects close to the screen colour when they need to remain visible. Check small logos, jewellery stones and reflective surfaces too. A green cup may accidentally become transparent in the finished image.
Allow a little room for the planned movement and record a short section of the empty background. It does not replace a clean key, but can help assess shadows. Keep the tested arrangement and settings unchanged until recording ends. If a fixture or chair moves, another test is quicker than a difficult repair across all the following clips.
A simple moving-edge test
A speaker in dark clothing may initially look clean against a bright green screen. Now ask them to spread their fingers and move them slowly across it. If gaps remain green or fingertips disappear, enlarge the untreated clip. If those details are already smeared, stronger keying cannot restore them. Check shutter speed, focus and recording quality before beginning a longer conversation.