On a glossy bottle, a strip of light can describe its curvature, while a jumble of reflected window, stand and camera distracts from the label. With these products, you are lighting more than the object. You are also arranging the surroundings it reflects. Fix the camera and product positions first. Even a small rotation changes the reflections and makes previous comparisons unreliable.
Identify the troublesome area
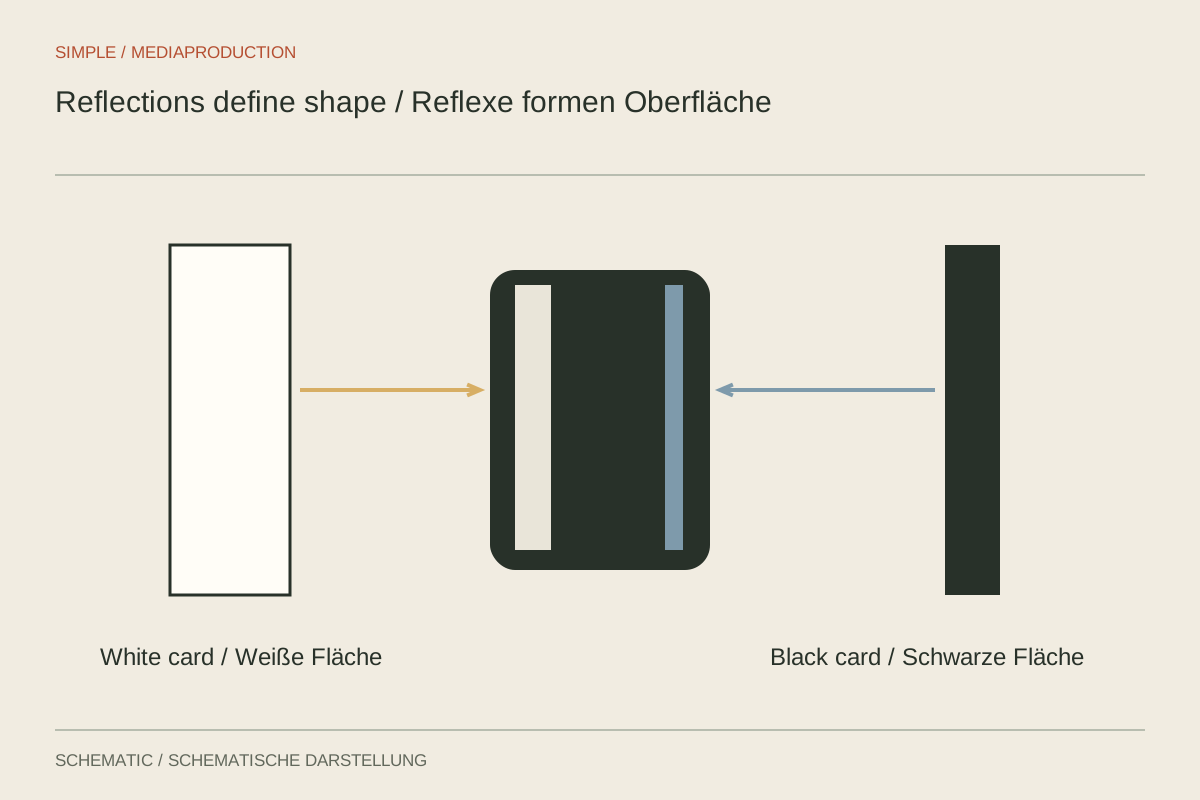
Inspect an enlarged camera view. Move a white card slowly from side to side outside the frame. This reveals which part of the surroundings appears on each part of the product. Repeat with a black card. At this stage the cards are diagnostic tools, not necessarily permanent parts of the setup.
A flat metal component responds differently from a round glass bottle. A slight tilt of a flat surface may change the entire reflection. A curved object compresses a larger environment into its surface. Avoid arranging several shiny products before understanding the first one. A clear single-object test often saves lengthy random movement of every fixture.
Create a calm illuminated surface
A large diffusion panel between the light and product can produce a continuous bright gradient. Its distance and the fixture's position behind it change the visible shape. Watch for creases, edges and stand components: these can be reflected too. The panel must remain outside the camera frame while occupying the area the product reflects.
A narrow bright strip beside a dark bottle can describe its outline. A white card on the opposite side does not need to be equally bright. Different widths give the object form. If every reflection becomes uniformly white, a curved body may look flat. The aim is readable material, rather than the complete absence of shine.
Assess the label and material separately
Lighting that describes metal convincingly may leave lettering on a matte package too dark. Decide which information must remain readable in the video. If necessary, add a small controlled fill for the label without destroying the larger reflection. Change only one surface at a time and observe its effect on both areas.
A polarising filter can influence certain reflections on non-metallic surfaces, but is not a universal answer for glossy products. Metallic reflections do not simply disappear. The filter also costs light and may remove useful material cues. Compare filtered and unfiltered recordings with exposure adjusted appropriately.
Test the planned movement
A pleasing still frame is not enough for a product video. As a bottle turns on a turntable, its reflection travels across the label. A moving camera may suddenly reveal a stand in the material. Record the entire move under the final lighting and inspect its beginning, middle and end.
Clean the product carefully according to its material requirements and check the enlarged image for dust or fingerprints. Mark positions on a base outside the visible area. If a hand picks up the product, the setup must also work with that hand: it may block the light panel or appear as a dark reflected shape itself.
Transfer a setup between products
For a series of similarly sized bottles, position marks help, but surfaces may respond differently. Replace only the object first and inspect its label, edge and highlight. A matte version may need different fill from a metallised package. Keep a short accepted test for each product. Identical fixture positions are a starting point for consistency, not proof of identical visual results.