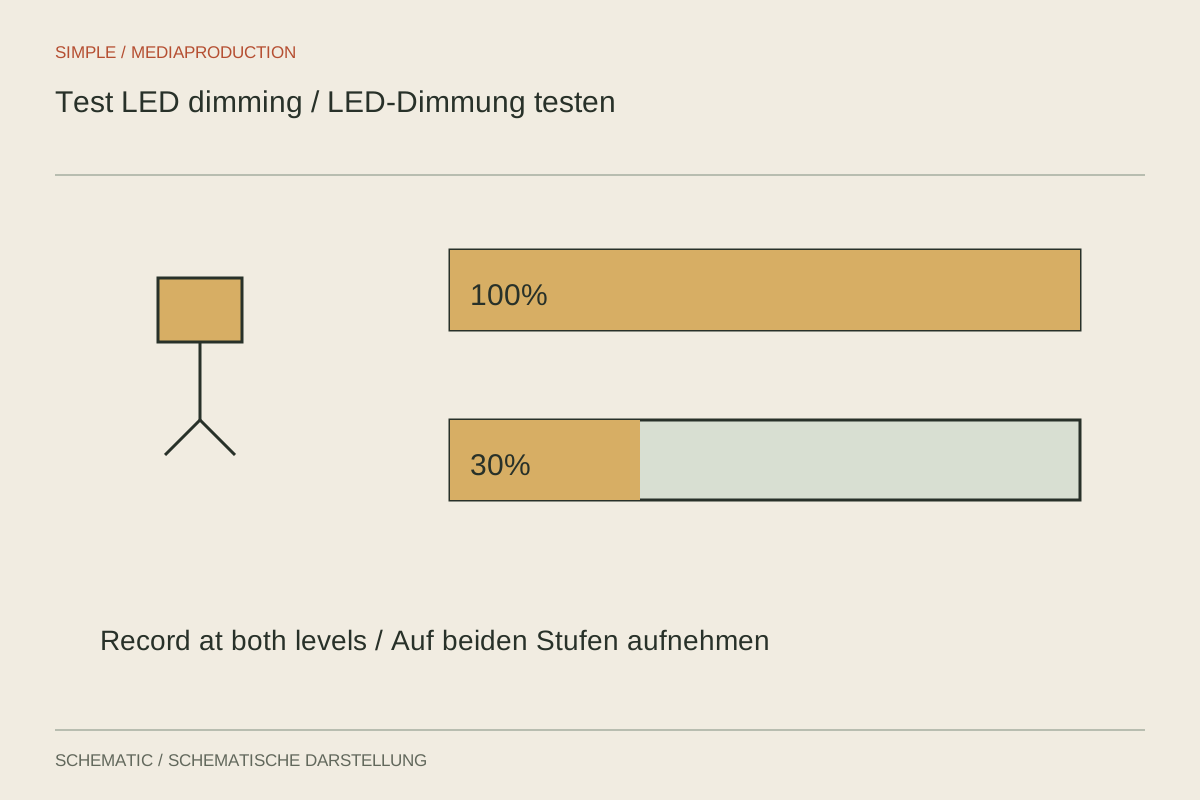
An LED fixture's percentage display indicates its setting, not how it will appear to every camera. With some devices, the dimming method interacts with image capture. Travelling bands or brightness fluctuations may result. Test the fixture under the coming shoot's conditions rather than only when unpacking it.
Record a comparable test
Aim the camera at a pale matte surface illuminated by the fixture. Initially exclude other light sources. Set frame rate, shutter speed and recording format as they will be used for the video. Record several seconds at full output, a middle setting and the actual low setting required. Keep any exposure changes between comparisons traceable and note their values.
Inspect the files at normal speed and frame by frame. A small camera preview can hide faint bands. Then examine the real scene too: glossy surfaces or a bright background may reveal problems more clearly. If slow motion will also be recorded, test that combination separately.
Fixtures do not share identical controls
Some filmmaking lights allow adjustment of their dimming frequency. This is a device-specific feature; its name and useful range belong in the relevant manual. Change such a setting gradually and record fresh tests. A combination that works with one camera does not automatically work at another frame rate or with another sensor.
A household dimmer is suitable only for explicitly compatible bulbs and loads. Do not simply connect a film fixture to one for additional brightness control. Use the intended controls and power supplies. Electrical buzzing may also affect the sound recording even when the image looks clean.
Reduce brightness another way
If only very low dimming levels cause trouble, increasing distance or using an appropriate modifier may help. Remember that this changes shadow softness, falloff and background brightness. A diffusion surface reduces output but also changes the apparent size of the source.
Reassess skin colour and white balance after the adjustment. Record the working dimming level together with frame rate and shutter speed. The final test should include a speaking person and the completed background. This verifies the actual recording rather than an isolated white wall.
Keep a concise test record
For a recurring setup, keep a small table listing camera model, frame rate, shutter speed, fixture and dimming level. Note whether bands were visible and identify the test file. This prevents a working combination later being reconstructed from vague memory. Replacing a device means the previous acceptance applies only to the old combination. A new slow-motion rate or recording mode particularly warrants another trial. Testing at 25 frames per second cannot establish universal behaviour at 100 or 200. Preserve the specific results rather than an unqualified flicker-free label, and make sure the actual shoot settings still match the record.