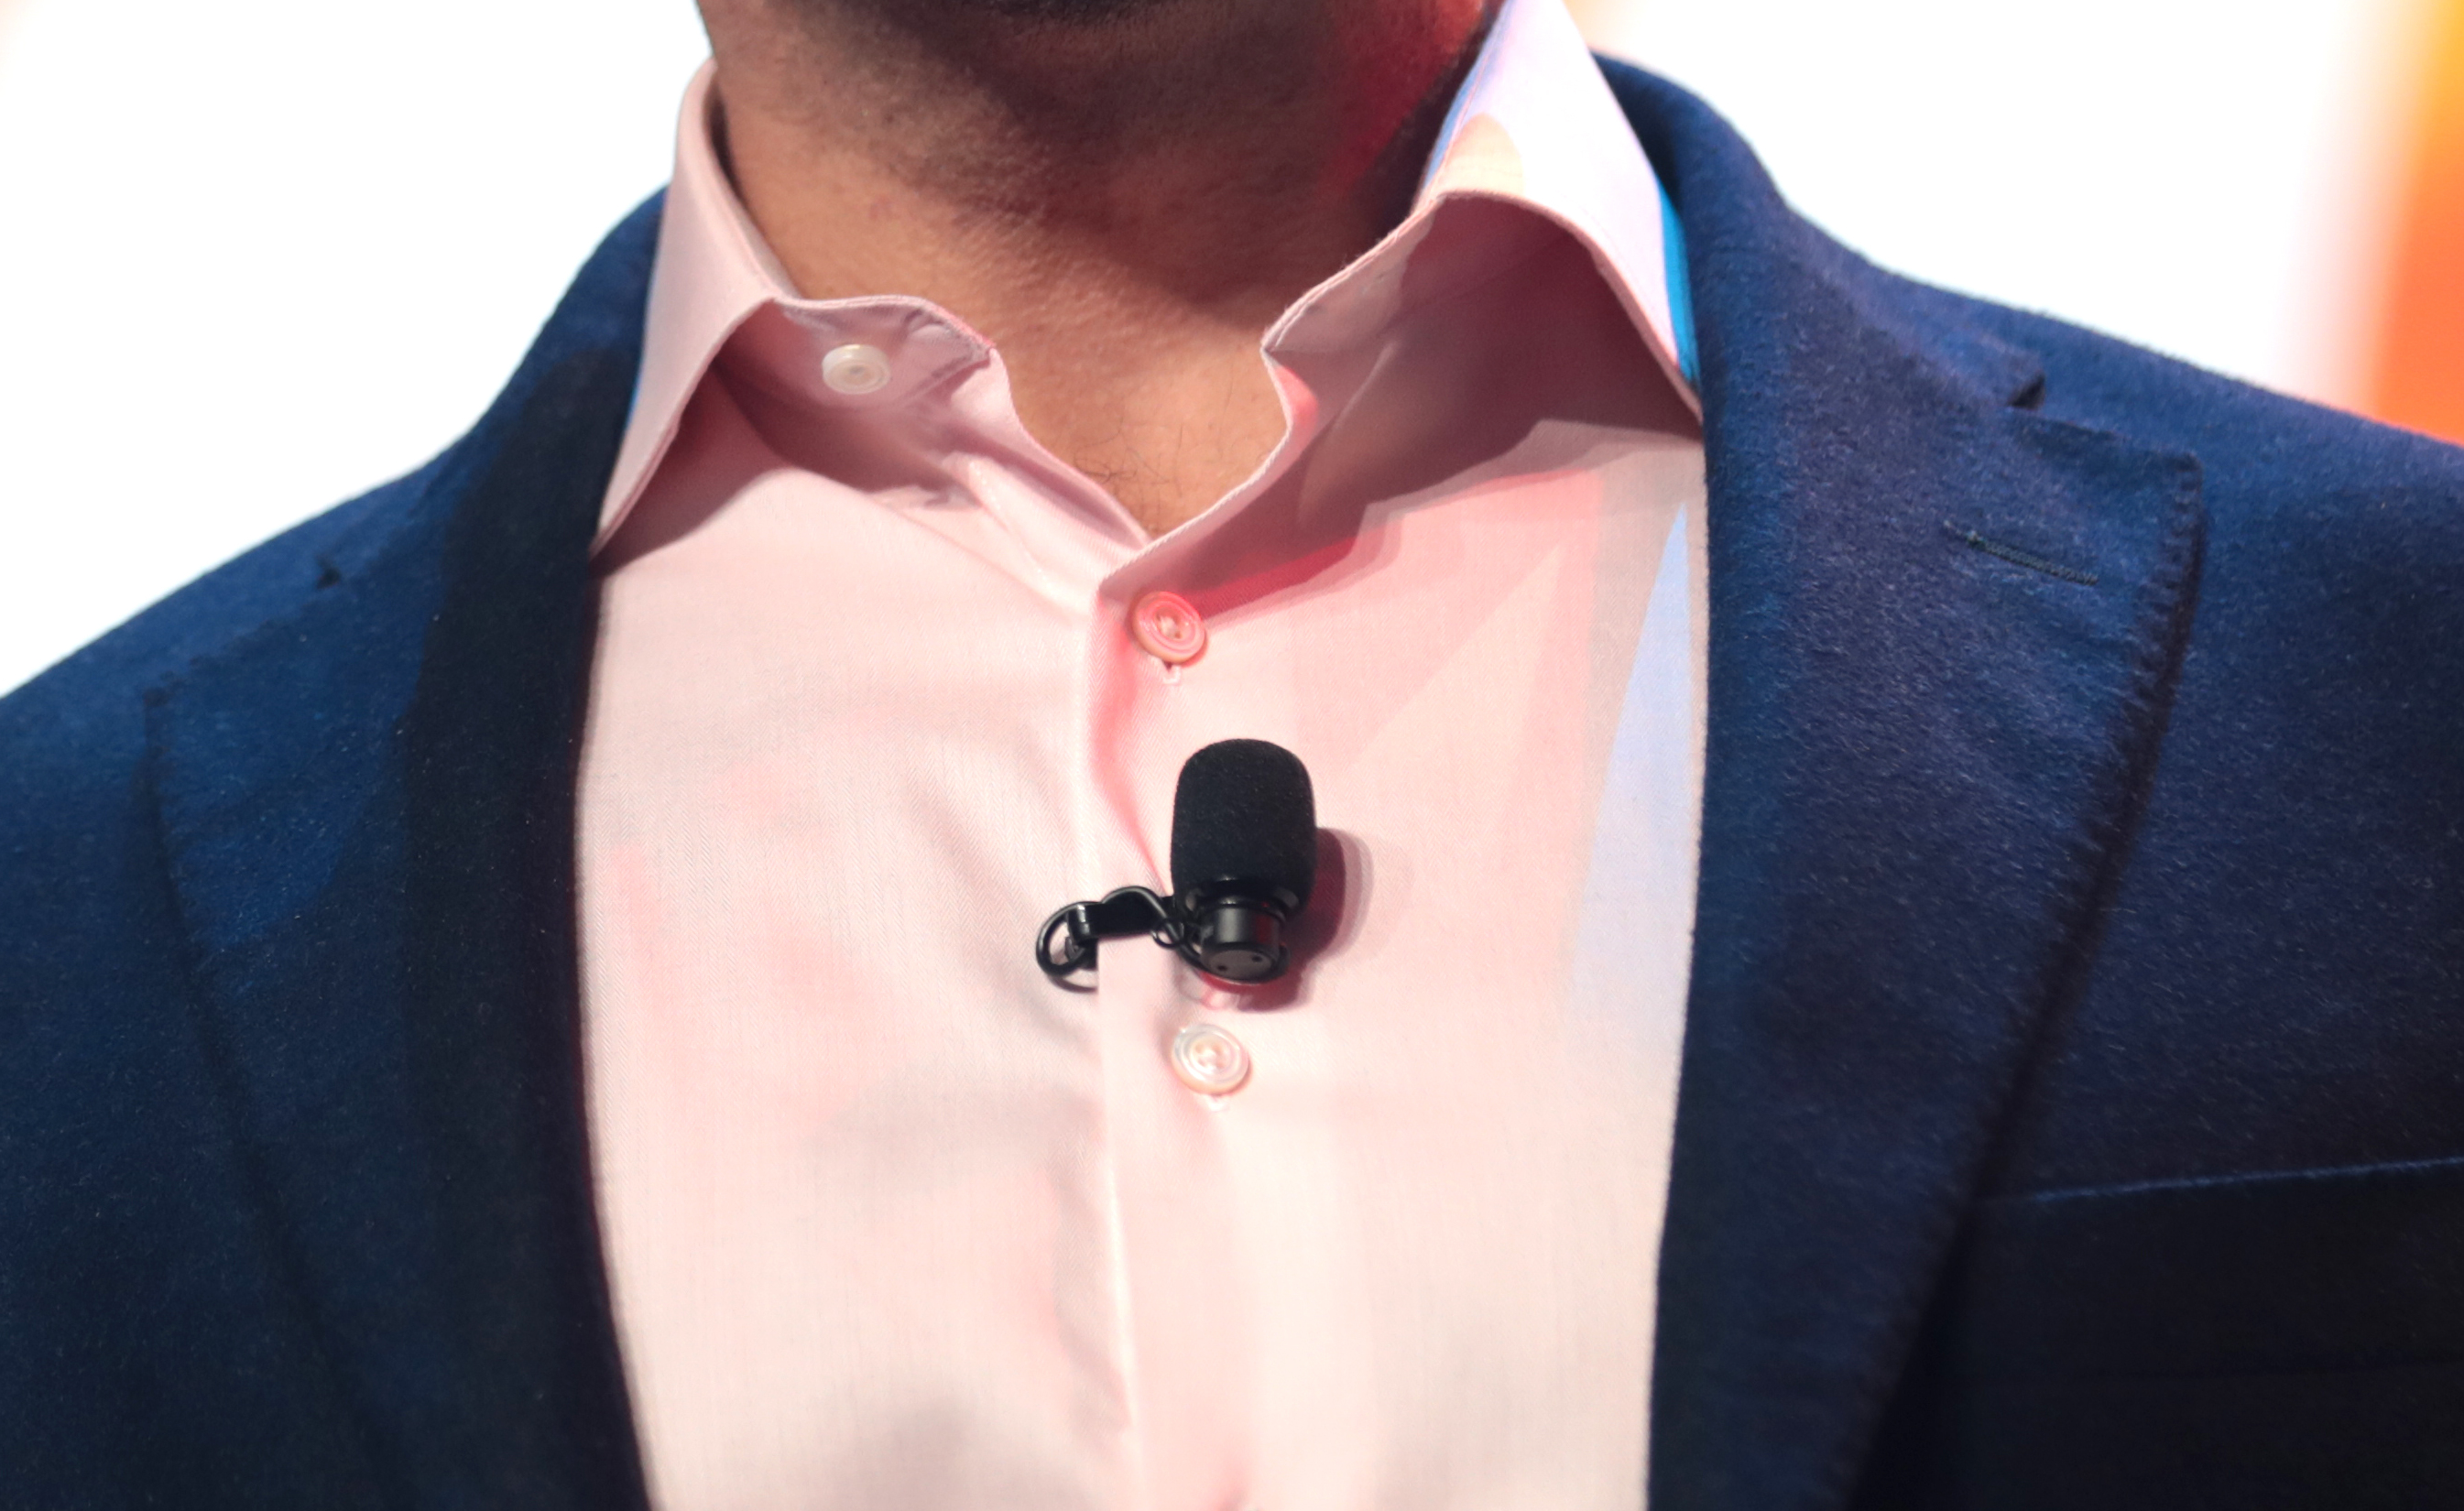

A lavalier can sound clear while someone stands still, then become muffled or rustle when they first turn their head. Positioning therefore involves more than the distance from the mouth. The collar, jacket, cable and the speaker's movements all form part of the setup. For a straightforward interview, begin with a visible mounting outside the clothing where possible. Problems are easier to see and correct there.
Start with a clear position on the upper chest
A shirt placket, tie or firm lapel gives the clip something stable to grip. Roughly a hand-span from the mouth can be a starting point; the microphone, posture and garment determine the final position. RØDE suggests around 20 to 30 centimetres in its general guidance. Treat that as a starting range, not a universal measurement requirement. Listen to a sample before declaring a visually neat position finished.
Speech may sound different directly beneath the chin than slightly lower or to one side. With a high T-shirt neckline, try a small sideways adjustment and compare the same sentence. Keep the capsule clear of the neck, beard, jewellery and fabric. Do not cover a sound inlet with the clip or tape. Directional lavaliers also need the orientation specified by their manufacturer.
Keep cable tension away from the microphone
Route the cable so sitting down or turning does not pull on the clip. A small loose loop below the mount can absorb movement; secure the remaining run to clothing without sharply bending it. Pay particular attention to the section immediately below the capsule. A cable brushing fabric there with every breath may transmit noise even though the microphone tip itself is clear.
Discuss the mounting with the speaker and let them route the cable beneath clothing themselves if they prefer. Do not attach anything to skin or delicate fabric unexpectedly. Give the transmitter or recorder a secure position where it cannot fall or become pressed when the person sits. Once they are seated, check that the clip remains stable and the cable still has enough slack.
Make the test resemble the recording
Ask for a complete sentence at the volume expected during filming. Then have the speaker look towards the interviewer, turn back and gesture naturally. For a demonstration, include reaching for the object. Listen to the actual recorded file on headphones. A level meter can show activity, but cannot reliably tell you whether that activity is speech or friction.
Change one part of the setup at a time when a problem appears. If turning causes rustling, first keep the jacket or collar away from the capsule and repeat the movement. If the noise remains, inspect cable contact. If only the voice becomes quieter, compare a more central mounting or a smaller head turn. Separate trials prevent you from changing gain, placement and clothing together and then losing track of the cause.
Keep it visible if hiding it spoils the sound
A hidden capsule needs clearance from fabric and a suitable mounting accessory. That takes additional preparation and can remain difficult with noisy materials. For an explanatory interview, a small visible microphone is often a reasonable choice. If clothing cannot provide a workable mounting, a microphone positioned outside the frame may offer another solution. Repeat the sound check whenever the jacket, seated position or mounting changes.